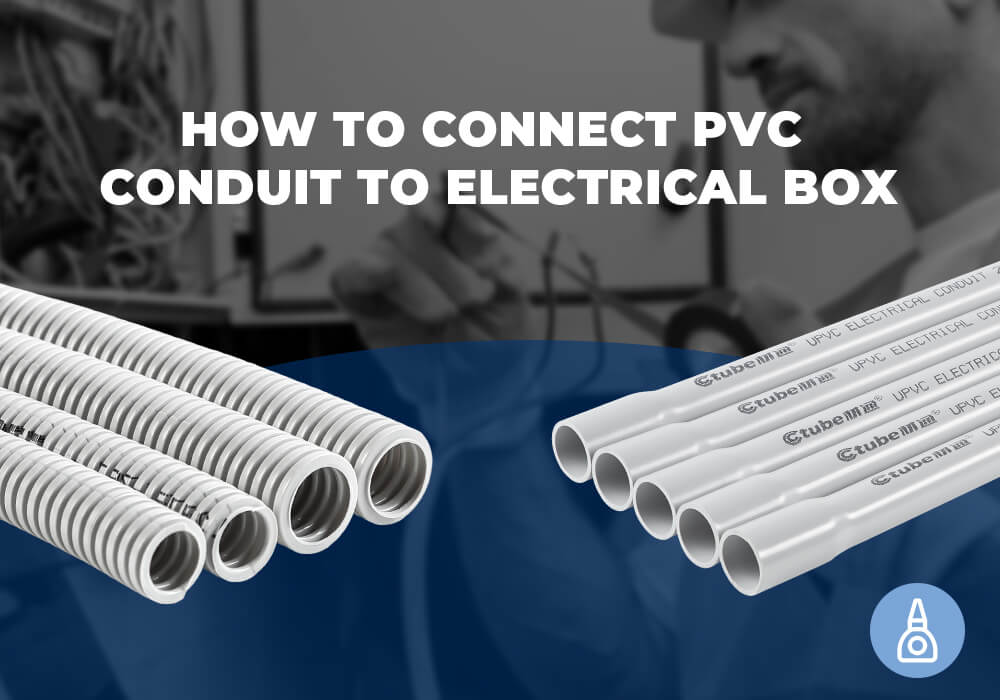
Connecting PVC conduit to an electrical box typically involves the use of a PVC conduit connector or a PVC conduit hub.

Here are the general steps to follow:
Step 1: Measure and Cut the Conduit
📏 Use a tape measure to determine the required length of PVC conduit for your setup.
✂️ Then, cut the conduit using a PVC pipe cutter or a fine-toothed saw. Ensure your cut is straight and clean.
Step 2: Deburr and Smooth the Edges
🧹 After cutting, remove any burrs or rough edges on both the inner and outer ends of the conduit using a deburring tool or utility knife. This step helps prevent damage to wires during installation and ensures a smooth connection.
Step 3: Prepare the Electrical Box
🛠️ Ensure the knockout on the electrical box is removed and clean. Knockouts are the round, perforated sections on electrical boxes designed for fitting connectors or conduit.
Step 4: Insert the PVC Male Adapter
🔩 Insert the threaded end into the knockout hole on the side of the electrical box. Hand-tighten until snug and flush against the box. Use pliers if needed, but don’t over-tighten to avoid cracking the plastic.
Step 5: Apply PVC Cement (Flexible conduit can pass)
🧴 Apply a thin, even layer inside the socket end of the male adapter, and another layer on the outside end of the PVC conduit. Work quickly — PVC cement sets fast.
Step 6: Connect the Conduit to the Adapter
🔗 Push it in firmly until it bottoms out inside the fitting. Hold it in place for 15–30 seconds to let the bond begin setting.
Step 7: Let the Joint Cure
⏱️ Most PVC cement requires at least 15 minutes before handling and up to 2 hours for a full cure — always follow the manufacturer’s instructions.
Step 8: Pull the Electrical Wires
⚡ Once the connection is solid and dry, you’re ready to pull the electrical wires.
🎥 Video for you
Note: Always follow local electrical codes and regulations when installing electrical equipment. If you are unsure about any aspect of the installation process, consult a licensed electrician for assistance.