Table of Contents
ToggleIntroduction
Choosing the correct conduit size for your electrical projects is crucial for ensuring safety, efficiency, and compliance with building codes. The size of the conduit affects the ease of pulling wires through it, the protection against overheating, and the capacity for future expansion. Undersized conduits can lead to excessive heat buildup, making wire pulling difficult and potentially damaging the insulation. Oversized conduits, while not hazardous, can be unnecessarily costly and cumbersome.
This guide aims to demystify the process of selecting the appropriate conduit size for various electrical installations. We will cover the basics of what conduits are, the factors that influence their sizing, relevant standards and codes, and step-by-step instructions for calculating the correct size.
Different Conduit Types Review
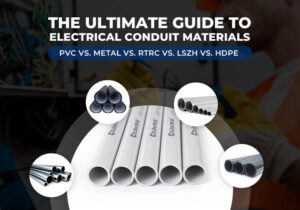
Choosing the right conduit involves understanding various types and their specific applications. Each type of conduit has unique characteristics suited to different environments and installation requirements. Below is a detailed overview of both metallic and non-metallic conduits, including their benefits and appropriate uses.
Metallic Conduits:
1. Rigid Metal Conduit (RMC) and Intermediate Metal Conduit (IMC): Known for their durability, these conduits are made from coated steel or aluminum, providing excellent protection against physical damage. RMC is commonly used in industrial and outdoor settings, while IMC is lighter and suitable for indoor and outdoor applications where aesthetics matter.
2. Electrical Metallic Tubing (EMT): Made from galvanized steel or aluminum, EMT is lightweight and flexible, making it ideal for tight spaces in commercial buildings.
3. Flexible Metal Conduit (FMC) and Liquidtight Flexible Metal Conduit (LFMC): FMC is spirally wound for flexibility and is used in dynamic environments where equipment movement occurs. LFMC adds a plastic coating for watertightness, making it suitable for moist areas like outdoor lighting fixtures.
Non-Metallic Conduits:
1. Rigid PVC Conduit: Made from polyvinyl chloride, PVC conduits are non-conductive and resistant to moisture and chemicals, making them ideal for underground and corrosive environments in residential and commercial settings.
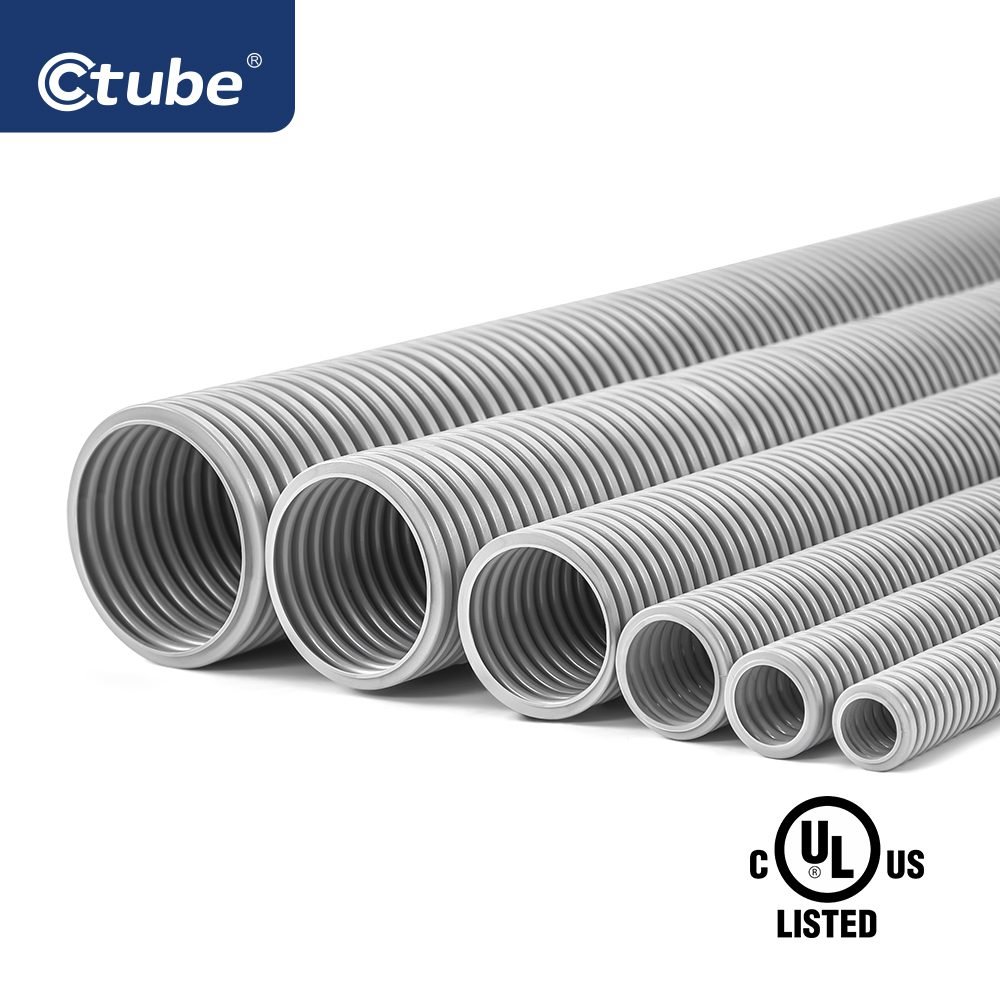
2.Electrical Nonmetallic Tubing (ENT) and Liquidtight Flexible Nonmetallic Conduit (LFNC): ENT is flexible and lightweight, suitable for indoor use in residential buildings. LFNC, made from plastic materials, offers flexibility and watertight protection for wet or damp locations, ensuring non-conductivity in environments exposed to water.
Factors Influencing Conduit Size Selection
Cable Fill Capacity
Cable fill capacity refers to the amount of space within a conduit that can be occupied by electrical wires. The National Electrical Code (NEC) provides guidelines on the maximum fill percentage to ensure safe and efficient operation. Overfilling a conduit can lead to excessive heat buildup, making wire pulling difficult and potentially damaging the insulation.
– Single Cable: For a single cable, the fill capacity can be up to 53% of the conduit’s internal diameter.
– Two Cables: When running two cables, the fill capacity should not exceed 31%.
– Three or More Cables: For three or more cables, the fill capacity should not exceed 40%.
These limits are designed to prevent overheating and ensure there is sufficient space for the cables to be installed without damaging their insulation.
Conduit Material and Its Impact on Sizing
The material of the conduit affects its internal diameter and flexibility, which in turn impacts the sizing. Different materials have unique properties that make them suitable for various applications.
Metallic conduits generally have a thinner wall thickness compared to non-metallic conduits, offering a larger internal diameter for the same nominal size. This can be advantageous when trying to maximize the number of cables within a conduit. Rigid Metal Conduit (RMC) and Intermediate Metal Conduit (IMC) offer robust protection and are suitable for high-risk environments, while Electrical Metallic Tubing (EMT) is lighter and easier to bend, making it ideal for commercial applications where flexibility is needed.
Non-metallic conduits typically have thicker walls, which reduces their internal diameter. However, they provide excellent resistance to corrosion and are non-conductive. PVC conduit is commonly used in underground and wet locations due to its moisture resistance. Electrical Nonmetallic Tubing (ENT) and Liquidtight Flexible Nonmetallic Conduit (LFNC) are flexible options for complex wiring layouts and environments exposed to water.
When selecting conduit material, it is crucial to consider the specific requirements of your installation, including durability, ease of installation, and environmental conditions.
Environmental Considerations (Indoor vs. Outdoor Use)
The installation environment significantly impacts conduit selection and sizing, as different environments pose unique challenges that must be addressed to ensure the longevity and safety of the electrical system.
For indoor use, conduits are generally protected from extreme weather conditions but may still need to withstand physical impacts and chemical exposure. EMT and flexible conduits like FMC are commonly used indoors due to their ease of installation and adaptability to complex layouts.
For outdoor use, conduits must be able to withstand moisture, temperature fluctuations, UV exposure, and potential physical damage. RMC and IMC are suitable for outdoor installations due to their robust construction and corrosion resistance. PVC conduits are also widely used outdoors because of their excellent moisture resistance and non-conductive properties.
In wet or corrosive environments, areas exposed to moisture, chemicals, or other corrosive substances require conduits that can resist degradation. LFMC and LFNC are designed for such environments, providing flexibility and a watertight seal to protect the wiring.
Conduit Sizing Standards and Codes
The NEC provides comprehensive guidelines for conduit sizing to ensure the safe and efficient installation of electrical systems. These requirements cover factors such as fill capacity, wire bending space, and protection against mechanical damage. Adherence to NEC standards helps prevent issues like overloading conduits, excessive heating, and difficulty in maintenance and repairs. The NEC specifies maximum fill percentages for different types and sizes of conduits based on the size and number of conductors they contain. Additionally, it outlines minimum bending radii to prevent damage to wires and insulation during installation. Compliance with NEC 10requirements is essential for ensuring electrical safety and code compliance.
In addition to the NEC, local building codes and regulations also govern conduit sizing and installation practices. These codes may include specific requirements tailored to local environmental conditions, building types, and safety standards. It’s important for installers and designers to familiarize themselves with these local codes and regulations to ensure compliance with regional requirements. Local codes may impose additional constraints or specifications not covered by the NEC, so it’s crucial to consult the relevant authorities or code officials for guidance. By adhering to both NEC and local building codes, installers can ensure the safe and legal installation of electrical conduits within their jurisdiction.
Mastering Conduit Sizing Calculations
Determine the Total Area of Conductors:
– Count the number of conductors.
– Calculate the total cross-sectional area of all conductors using the manufacturer’s data or by direct measurement if possible.
Consult Code or Regulations:
– Refer to the National Electrical Code (NEC) or local regulations to determine the maximum allowable fill percentage for the conduit type and size you are using.
Calculate the Required Conduit Size:
– Divide the total area of the conductors by the allowable fill area percentage to find the minimum conduit size needed.
Check for Standard Sizes:
– Round up to the nearest standard conduit size available on the market.
Consider Installation Requirements:
– Ensure the selected conduit size meets all other installation requirements, such as bending radius and pulling tension.
Scenario:
– You need to run 7 THHN copper conductors (each 10 AWG) through a PVC conduit.
– The maximum fill capacity for the chosen PVC conduit size is 40%.
Step 1: Determine the Total Area of Conductors:
– For 10 AWG copper conductors, the diameter is approximately 0.1019 inches.
– Calculate the total cross-sectional area of all 7 conductors:
– Total Area = (π × (0.1019)^2) × 7 ≈ 0.0325 square inches.
Step 2: Consult Code or Regulations:
– Assume the maximum allowable fill capacity for the PVC conduit is 40%.
Step 3: Calculate the Required Conduit Size:
– Divide the total area of conductors by the allowable fill capacity:
– Required Conduit Size = Total Area / Allowable Fill Capacity
– Required Conduit Size = 0.0325 / 0.40 ≈ 0.08125 square inches.
Step 4: Check for Standard Sizes:
– The nearest standard conduit size greater than 0.08125 square inches is 1-inch PVC conduit. Other standard sizes for reference:
– 2 inch conduit offers increased capacity over 1 inch, accommodating more conductors or larger conductor sizes.
– 3 inch conduit provides further expansion potential for larger installations or future upgrades.
– 4 inch conduit allows for significant additional capacity, suitable for extensive wiring configurations.
– 5 inch and 6 inch conduits are available for applications requiring substantial space or numerous conductors.
– Larger sizes, such as 7 inch and 8 inch conduits, are utilized in specialized industrial contexts where extreme capacity is necessary.
Step 5: Consider Installation Requirements:
– Ensure that the chosen 1-inch PVC conduit meets all installation requirements such as bending radius, pulling tension, etc.
By following these steps and considering a range of standard conduit sizes, you can determine the appropriate conduit size for your specific installation needs, while also being prepared for potential future adjustments or expansions.
Tools and Resources for Accurate Sizing
-Measuring Tape: A standard tool for measuring conduit lengths and diameters accurately.
-Calipers: Useful for measuring the diameter of conductors or the inner diameter of conduits precisely.
-Wire Gauge: A tool for measuring the thickness of wires, helping determine conductor sizes.
-Conduit Fill Chart: Charts or tables provided by manufacturers or available in electrical codebooks to determine the maximum number of conductors allowed in different conduit sizes.
-Calculator: A simple calculator for performing basic arithmetic calculations involved in conduit sizing.
-NEC Handbook: The National Electrical Code handbook provides guidelines, charts, and tables for conduit sizing and fill capacities.
-Manufacturer Websites: Many conduit manufacturers offer online resources, including sizing guides and calculators based on their products.
–Conduit Fill Calculators: Several websites offer conduit fill calculators where you can input the number and size of conductors and get recommendations for conduit size. Some examples include:
By utilizing these tools and resources, you can ensure accurate conduit sizing for your electrical installations.
Common Mistakes to Avoid
Overfilling the Conduit
Overfilling a conduit by placing too many wires or cables beyond its capacity can cause several issues, including overheating, increased electrical resistance, and potential insulation damage, all of which complicate future maintenance. This can also make it difficult to pull additional wires when needed. To prevent these problems, it is essential to adhere to the fill capacity limits set by codes like the National Electrical Code (NEC), using appropriate sizing charts to ensure the number and size of wires remain within the allowable fill percentages.
Ignoring Future Expansion Needs
Neglecting to consider future expansion needs during conduit installation can lead to costly and time-consuming modifications down the line, as well as space constraints when new conduits must be added. This lack of foresight can result in inefficient and cluttered installations. The solution is to plan for future expansion by installing conduits slightly larger than the current requirements and leaving space for additional wires. Additionally, incorporating accessible pull points can facilitate easier modifications in the future.
Misunderstanding Code Requirements
Misunderstanding or misinterpreting the electrical codes governing conduit installation can lead to serious consequences, including safety hazards, failed inspections, fines, legal liabilities, and inefficient electrical systems. To avoid these issues, it is crucial for installers and designers to be thoroughly familiar with the applicable codes, such as the NEC, and to regularly update their knowledge to keep up with any changes. When in doubt, consulting with code experts or inspectors can ensure compliance and proper installation practices.
Conclusion
In summary, selecting the correct conduit size is essential for ensuring safety, efficiency, and compliance with building codes in electrical projects. Undersized conduits risk overheating and damage to insulation, while oversized ones are unnecessarily costly and cumbersome. This guide demystifies the process by covering conduit types, factors influencing sizing, relevant standards and codes, and step-by-step calculations. Understanding conduit types, considering environmental factors, and consulting tools and resources like the NEC Handbook and online calculators are crucial steps. Common mistakes to avoid include overfilling conduits, neglecting future expansion needs, and misunderstanding code requirements. By following these guidelines, you can ensure accurate conduit sizing and efficient electrical installations.

